


AWS Route 53: A Complete Guide to Amazon’s Scalable DNS Service
Introduction

Amazon Route 53 is a highly available, scalable, and dependable Domain Name System (DNS) web service designed to route end users to Internet applications. It is a fully managed service with domain registration, DNS routing, and health checking capabilities. Named after port 53, which DNS uses for communication, Route 53 is one of the most powerful DNS services available today.
In this post, we will walk through AWS Route 53 features, its routing policies, use cases, and give you a step-by-step guide for setting it up.
What is AWS Route 53?
AWS Route 53 is a cloud-based DNS web service that helps in domain name resolution and traffic routing. It allows users to:
- Register domains and manage DNS settings.
- Route traffic efficiently using different routing policies.
- Monitor health of endpoints and redirect traffic accordingly.
Route 53 integrates seamlessly with AWS services such as EC2, S3, CloudFront, Load Balancers, and AWS Global Accelerator, making it an essential tool for managing domain name resolution in the cloud
Key Features of AWS Route 53
1. Domain Registration
Route 53 allows you to register and manage domains directly from AWS. It supports a variety of top-level domains (TLDs) like .com, .org, .net, and even .aws.
With Route 53, you can easily configure DNS settings and integrate your domain with AWS services like S3 for static websites or CloudFront for content delivery.
2. DNS Service & Traffic Routing
Route 53 serves as a DNS resolver, translating domain names into IP addresses so that users can access applications. It supports multiple DNS record types, including:
- A Record – Maps a domain name to an IPv4 address.
- CNAME Record – Maps a domain name to another domain name.
- MX Record – Directs email traffic.
- TXT Record – Used for verification and security purposes (e.g., SPF, DKIM, and DMARC).
Routing Policies
Route 53 provides several routing policies to control traffic flow:
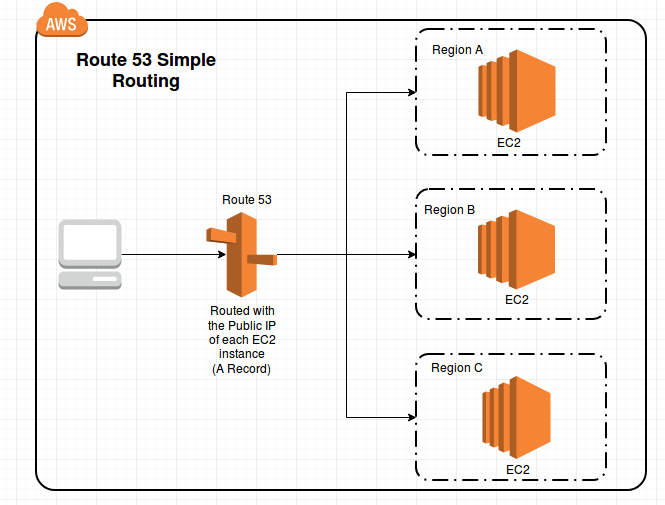
- Simple Routing: Directs traffic to a single resource.
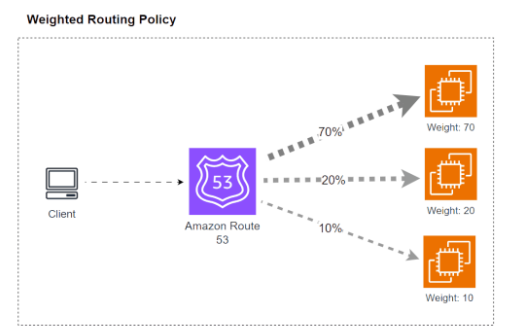
- Weighted Routing: Distributes traffic based on assigned weights.
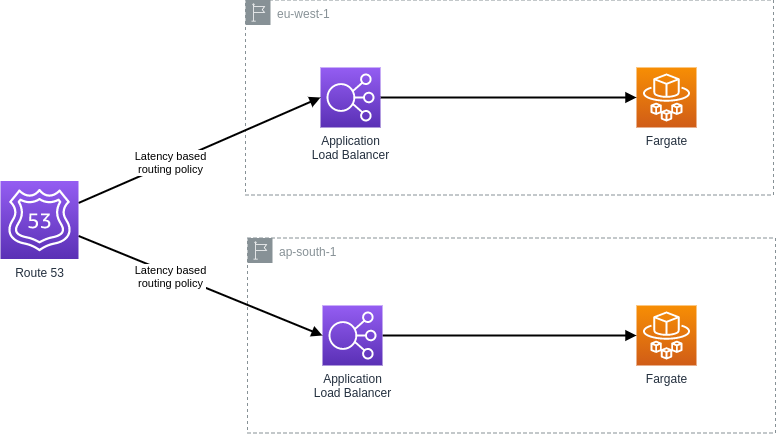
- Latency-based Routing: Routes users to the lowest-latency region.
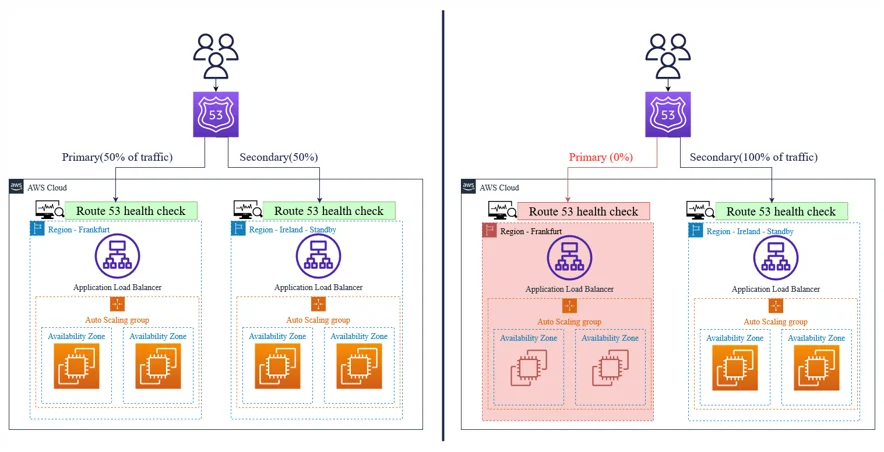
- Failover Routing: Directs traffic to a healthy backup resource in case of failure.

- Geolocation Routing: Routes users based on their geographic location.
- Geoproximity Routing: Routes traffic based on distance from AWS resources.
- Multi-value Answer Routing: Returns multiple IP addresses to distribute traffic.
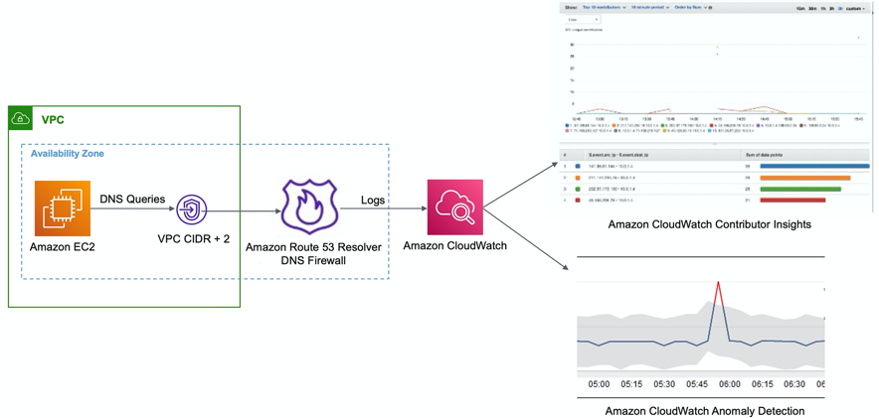
3. Health Checks & Monitoring
Route 53 can monitor the health of endpoints using health checks. If an endpoint becomes unhealthy, Route 53 can automatically redirect traffic to a backup endpoint.
It can also integrate with CloudWatch to provide insights into domain performance.
4. Integration with AWS Services
Route 53 integrates with various AWS services, allowing users to:
- Host static websites on S3.
- Distribute content globally using CloudFront.
- Improve performance with AWS Global Accelerator.
- Load balance traffic across multiple EC2 instances.
How to Set Up AWS Route 53
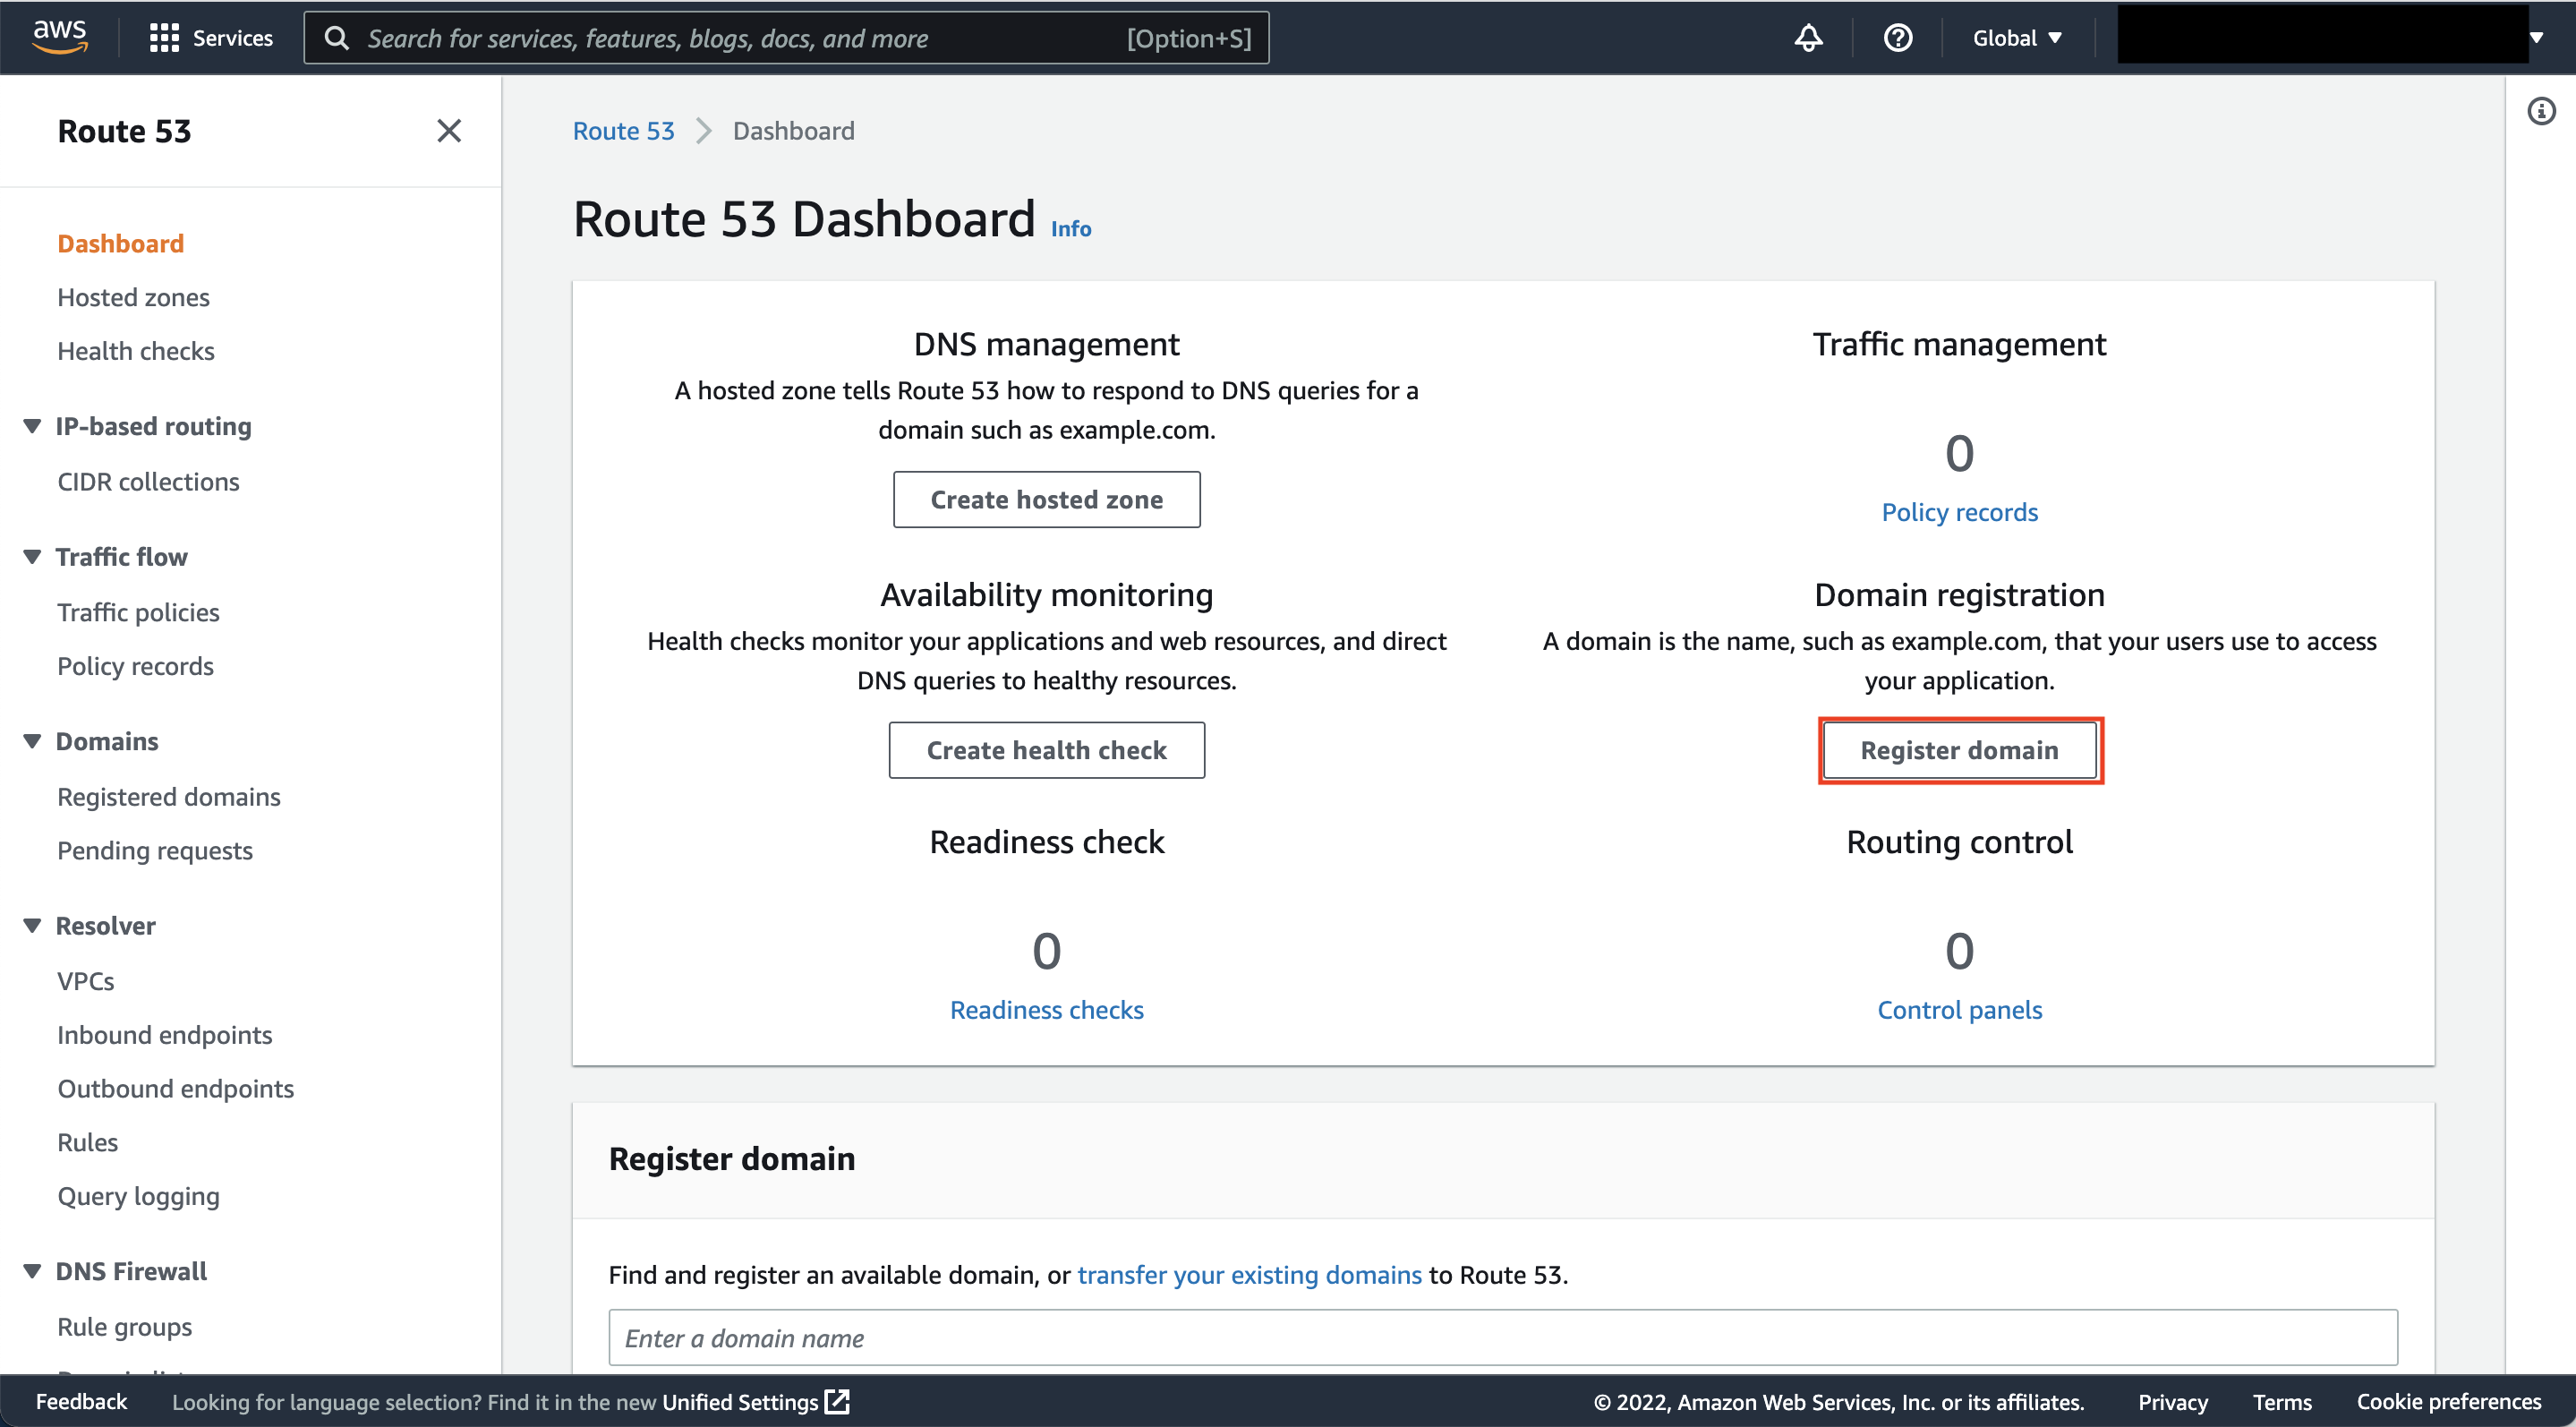
Step 1: Register a Domain
- Open the AWS Management Console and navigate to Route 53.
- Click on Domains > Register domain.
- Search for the domain name you want and proceed with the registration.
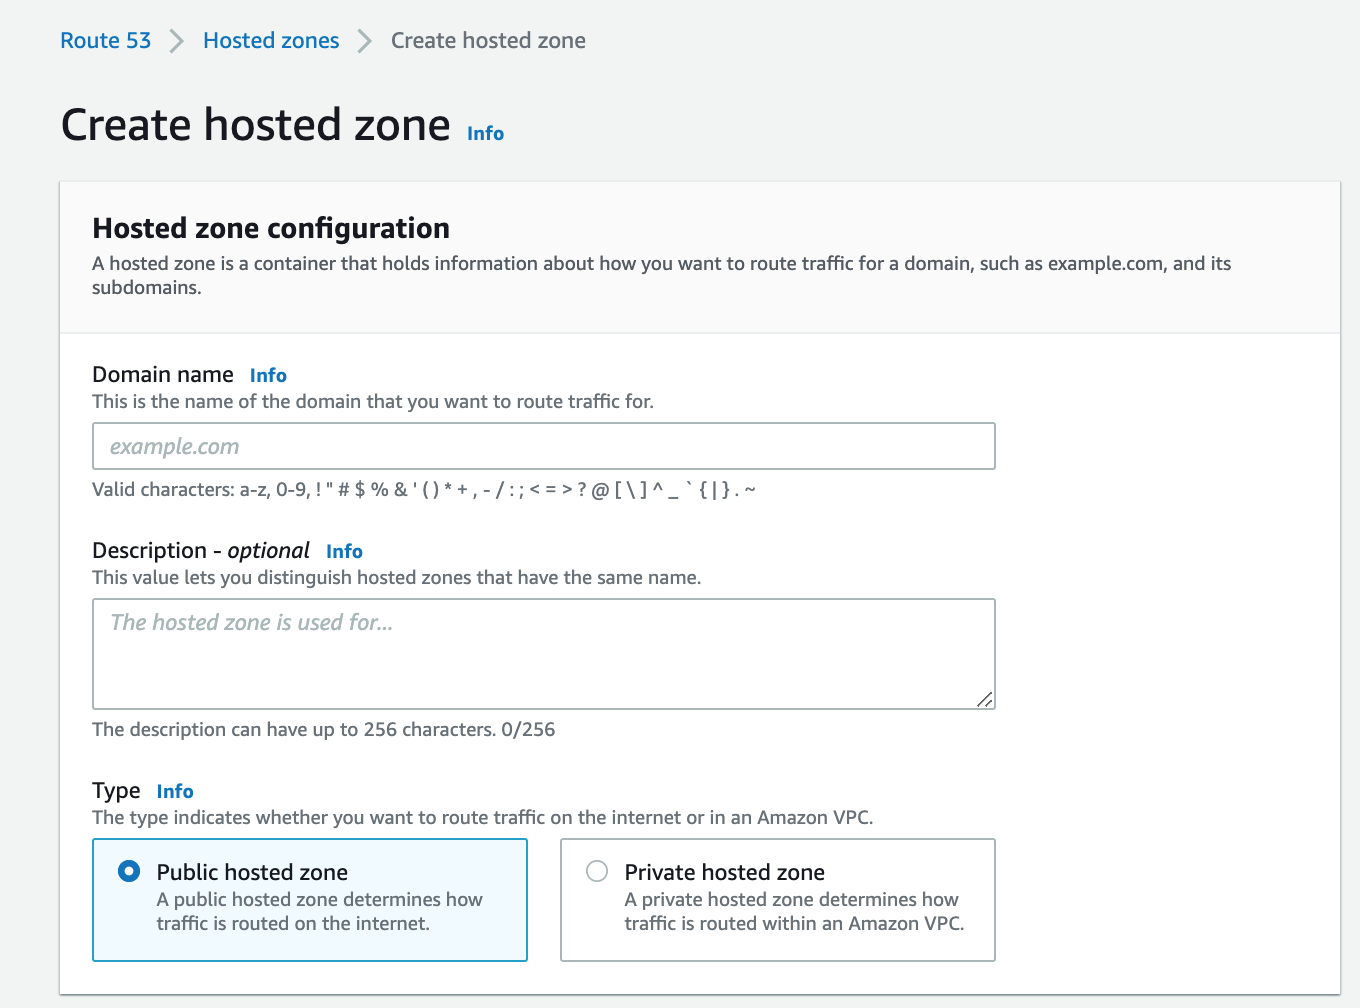
Step 2: Create a Hosted Zone
A hosted zone is a container for DNS records.
- In Route 53, go to Hosted zones and click Create hosted zone.
- Enter your domain name and select Public hosted zone.
- Click Create hosted zone.
Step 3: Configure DNS Records
- Inside your hosted zone, click Create record.
- Choose the record type (A, CNAME, MX, etc.).
- Enter the necessary values (e.g., IP address for an A record).
- Select a routing policy based on your use case.
- Click Create record.

Step 4: Set Up Traffic Routing
Depending on your needs, choose a routing policy:
- Use Simple Routing if there’s only one endpoint.
- Use Latency-based Routing for global applications.
- Use Failover Routing for high availability.
Step 5: Configure Health Checks (Optional)
- Go to Health checks in Route 53.
- Click Create health check.
- Specify the endpoint (IP address or domain name) to monitor.
- Configure failover settings to reroute traffic if the endpoint becomes unhealthy.
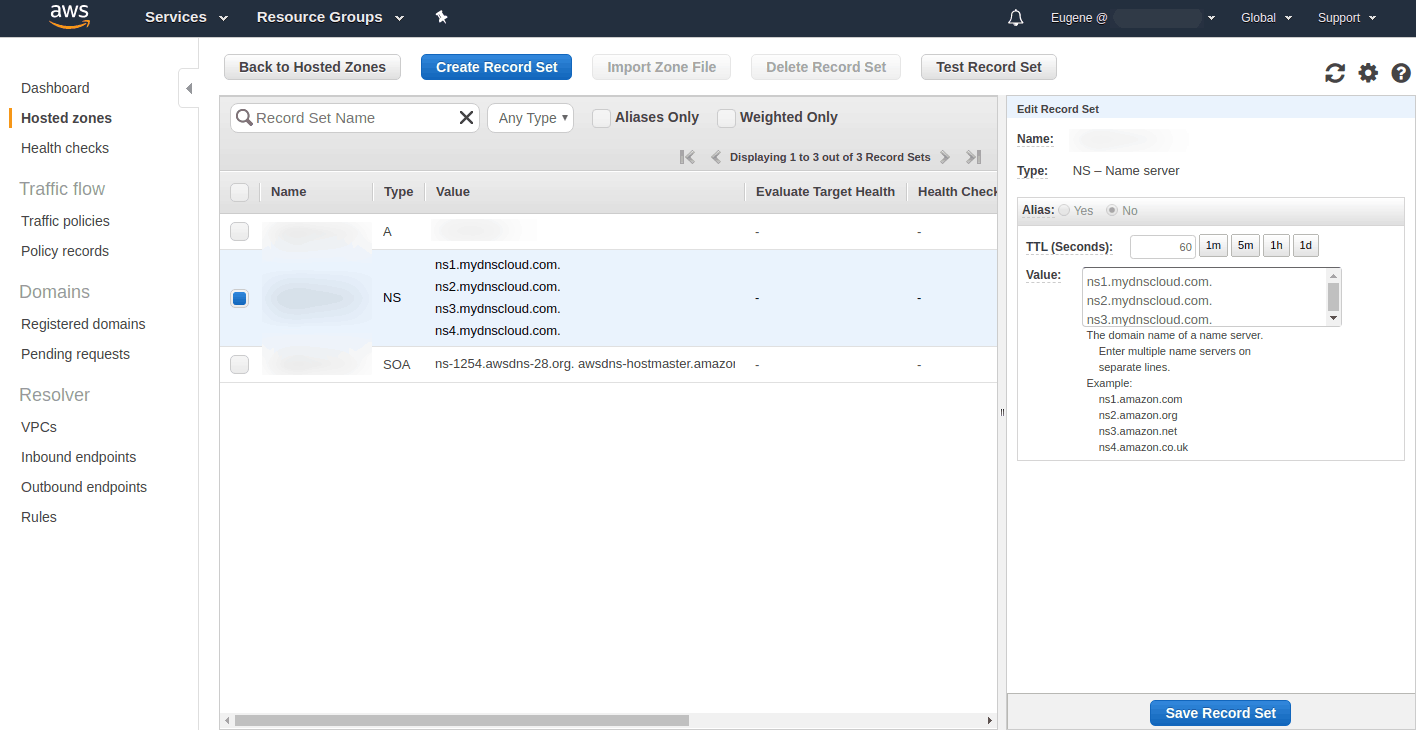
Step 6: Update Name Servers in Your Domain Registrar
If your domain is registered outside AWS, update its name servers (NS records) to point to Route 53. Copy the provided NS records from your hosted zone and update them in your registrar’s settings.
Advantages of AWS Route 53
✅ Scalability – Handles millions of queries per second.
✅ High Availability – Uses a global network of DNS servers.
✅ Security – Supports AWS Identity and Access Management (IAM) for access control.
✅ Cost-Effective – Pay-as-you-go pricing model.
✅ Seamless AWS Integration – Works with EC2, S3, CloudFront, and more.
Use Cases & Real-World Applications
1. Hosting Websites
- Route 53 helps direct traffic to EC2, S3, or CloudFront, ensuring fast and reliable access.
2. Load Balancing Across Regions
- Using latency-based routing, Route 53 sends users to the nearest AWS region.
3. High Availability with Failover
- Route 53 can automatically redirect users to a healthy backup instance if the primary one fails.
4. Hybrid Cloud & On-Premises Integration
- Route 53 can connect AWS environments with on-premises networks using geolocation routing.
Conclusion
AWS Route 53 is a scalable DNS service meant for incredible availability. It is highly helpful for routing internet traffic. Be it host a website, maintain a global application, or provide exceptional uptime; Route 53 provides you with various routing policies and is integrated seamlessly with AWS.
If you’re looking to experiment with AWS Route 53, then AWS offers a free tier to get you started. Give it a go with a domain setup, and see how it works on your web apps! 🚀
Have you used AWS Route 53 in your projects? Share your thoughts in the comments below! 💬


